Today I want to talk to you all about Ganache. And Chocolate.
**In my best Homer Simpson voice - Mmmm Chocolate* *drools*
Ganache Is a mixture of Chocolate and Cream. Its Extremely simple to make, and is Delicious!
In Australia we use ganache more than say, a buttercream, for filling/ covering cakes. This is mainly because it is quite warm here, and buttercream can be a little unstable in warmer climates. Plus, if you are covering a cake in Fondant, it cannot be refrigerated, so ganache is really the only choice in my book.
My reason for wanting today's post to be about ganache is that last night I had to make some, and while I was stirring the bowl waiting for it to combine, it got me thinking about the different recipe's I've used in the past. Every different cake book I own has a starkly differing opinion on what a great ganache is. Some say you can only make great ganache in huge quantities, and justify it by saying "what you don't use, you can freeze". Sure, that's fine if you want to buy large amounts of chocolate (which depending on your quality, can become quite an expensive endeavour) or perhaps you have a few cakes/ Cupcake orders for the one weekend, but for most singular orders, its just too much, and I also find that if I freeze it, the chocolate can become a little grainy from the water content in the cream. However - That's just me.
The Recipe I'm referring too is that of the Talented people over at Planet Cake, and Their Ganache recipe is as follows:
White Chocolate Ganache -
1.3Kg of white Chocolate (Finely Chopped)
450Mls of pure cream (Pouring cream/Non thickened cream)
Dark Chocolate Ganache -
1.2Kg Dark Chocolate (Finely Chopped)
450Mls of Pure Cream (Pouring cream/Non thickened cream)
Now, The dark chocolate ganache is Delicious. Don't get me wrong. But, its quite thick and can be a little hard to work with if you don't have the propper tools. To use it I had to microwave it (Which it actually says to do in the book) But I found that when I did that, as it was in such a large quantity that only the center softened, and even then, it was still quite thick.
You may remember the cake in one of my first few posts - The one where I unintentionally almost gave my cousin and his friends and family diabetes?
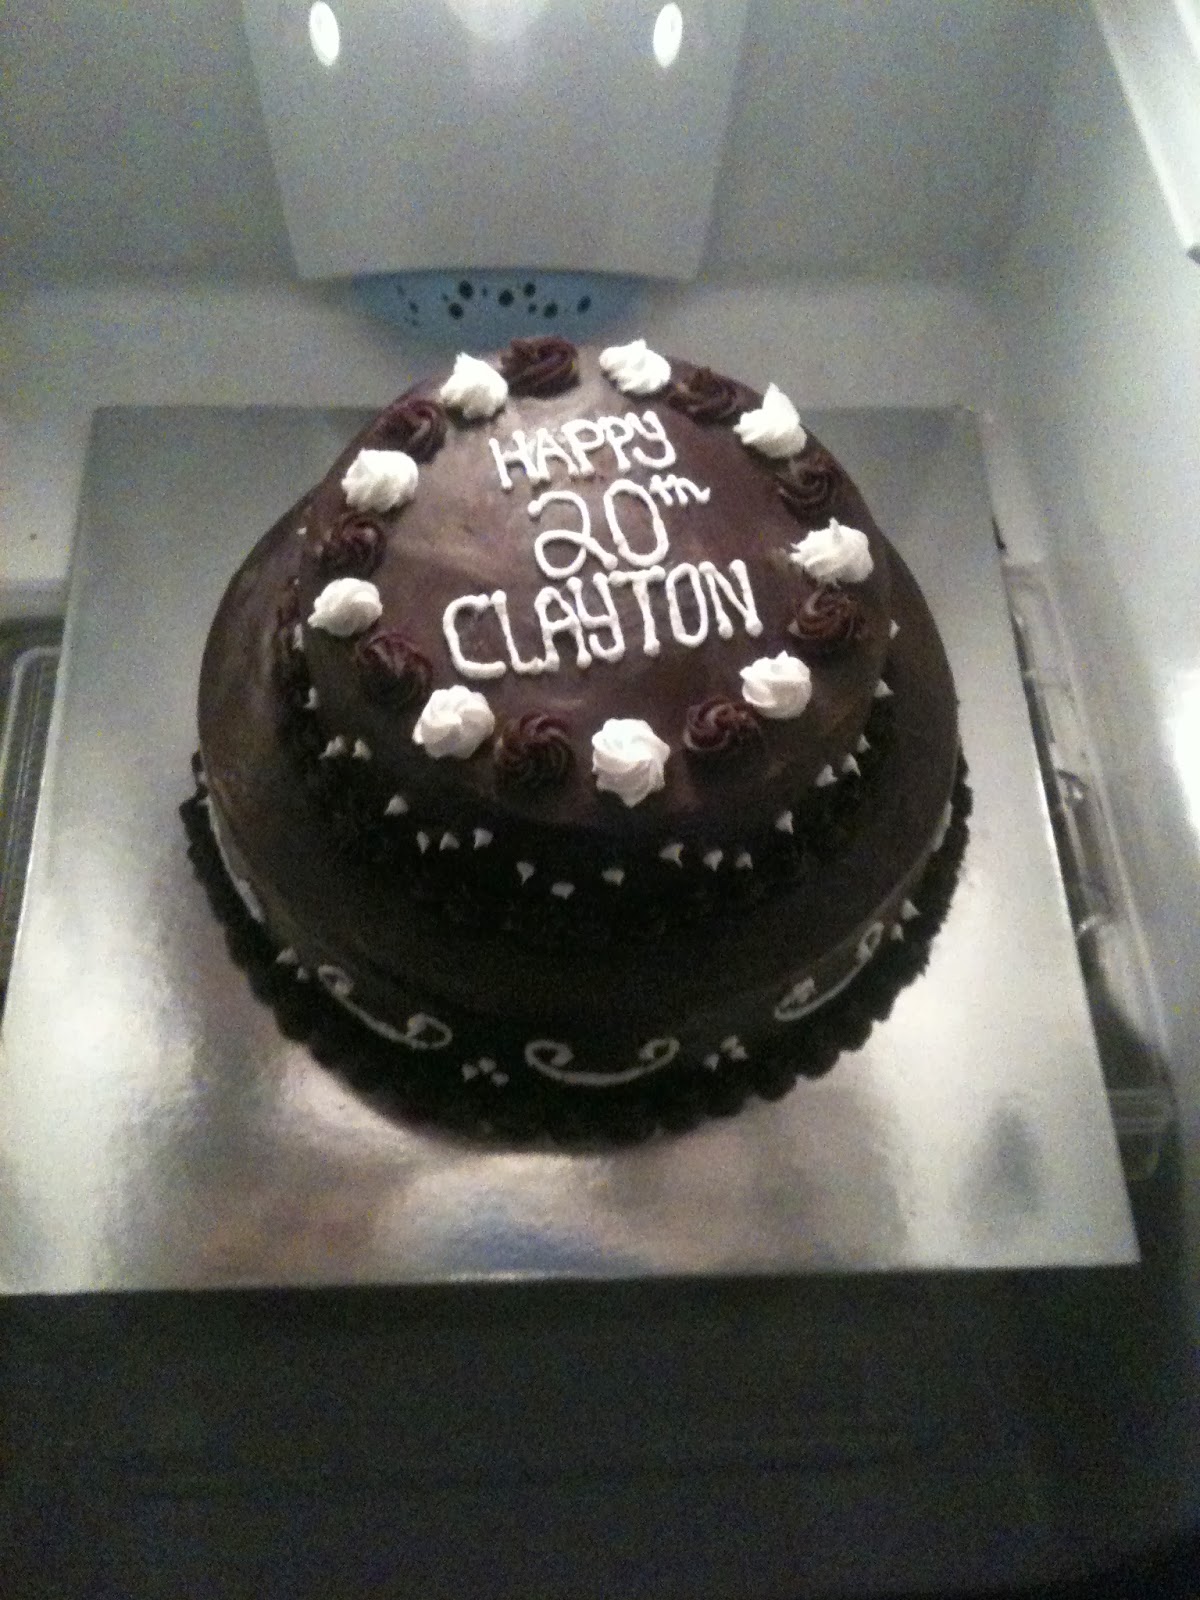

That was using this recipe. The Good thing about this recipe is because its thick, its great for piping. It holds its shape really well for decorative borders and rosettes etc.
The other more common recipe is that of equal quantities.
This Recipe is from "The Essential Guide To Cake Decorating" and I believe it is only enough to cover a cake and not fill it - but any quantities could do. This is a more runny ganache and would be great for dipping cupcakes into, or using more like a glaze over a cake
155g (5oz) of Dark Chocolate
155Mls (5 Fluid oz) of cream
Again, I'm sure its delicious (I haven't actually tried this method yet, but will be sure to share the results with you as soon as I do) But if any of you guys have, I would love to see the results!
Now. My Recipe.
This is a recipe I can not flaw. Ive used it for all my recent cakes, without a problem. (Apart from turning my back on the cream right when it decides to boil out of control over the rim of the pot and all over my stove. You would think I would learn? Nope, did it again just last night. Haha) But that's a me problem, not a recipe problem. :). Now Ive mentioned (and linked) this book before, and really, I can not recommend it enough! "The Women's Weekly - Decorating Cakes" If you do not yet own this, please at least take a peek next time you are in a book store, or major retailer (Kmart, Big W, Target Etc) and you will fall in love, I Promise!
Ok. So. Recipe is as follows -
White Chocolate Ganache -
360g (11 1/2 Ounces) of White *Eating* Chocolate. I use Cadbury - Dream In Aus.
125ml (1/2 Cup) of pouring cream
Dark Chocolate Ganache -
200g (6 1/2 Ounces) of dark chocolate
125 Ml (1/2 Cup) of pouring cream.
The Above dark chocolate recipe can also be made in milk chocolate. And, It. Is. Delicious. It also doubles (triples, quadruples etc) extremely well.
The method to this is so simple (And applies to all the above recipes also) that as long as you watch your cream, (and seriously, I cant stress that enough! Gets me every time!) It only takes about 5 minutes to prepare. I always make it the night before I want to use it, and let it set in the fridge over night.
Put your chocolate into a heat proof bowl and set near the stove. (If you are making white chocolate ganache, I also put a pot of water on to boil to use as a double boiler as the white chocolate has a higher melting point and the cream needs to be kept warm to combine)
Pour your cream into a pot on the stove, and heat until just starting to boil, then immediately pour over your waiting chocolate. Stir through until all the chocolate has melted, and it is completely combined with your cream. It should be smooth and a solid colour. cover in cling film, (I like to do two layers - one directly onto the chocolate mix itself, and another sealing the top of the bowl.) Then Pop it into the fridge, And done!
Now, Last night while I was mixing up my dark chocolate ganache, I tasted the Chocolate (As you do, of coarse) and found it to be a teeny tiny bit bitter. To counter that, I put a bout half a teaspoon of caster sugar into the hot cream, and I also added about half a teaspoon of pure vanilla extract (Can be found at your local supermarket, Its the darker syrup-like one) and mixed it in with the already combined mix. (It was so good!)
To use this mix, you can leave it out until it gets to room temperature, or (Because I'm impatient) I pop it into the microwave for 10 seconds on 50% power, Feel the center, if its still firm, repeat. Be sure to watch closely as you still want it to be a bit firm, but not cold. Then, I put my hand held beater in - starting on low speed, I start to whip it. Starting in the center, gradually bringing the edges of the mix in until the whole mix has been encorparated then up the speed for a minute or two, and when it is a little lighter in colour, and resembles a chocolate mouse almost (very light and airy, not dense) its done!
Now. I have two tips about this.
1. If you choose the microwave method, make sure that you don't over do it, or it wont whip up.
2. When you have whipped it all up and have filled and covered your cake, you might have some little bumps or edges. I like to keep a very small amount (think 2 tbs max of the whipped) aside, and i put that in the microwave for 5 seconds. I use an offset spatula to use the warmer runnier ganache over the bumpy spots to flatten them out and smooth the edges. Then put I put the cake into the fridge for about 15 mins to let it set up, then go back over the whole cake with a spatula that's been dipped in hot water - not dried completely but not dripping - and run it over any of the remaining little bumps. Result? Smooth (and tacky) surface for your fondant to stick to!
Now, as my Fiance has just informed me I've written an essay, I'll leave it there and get to baking my cakes.
As always, Thank you for reading!
The Beginner Baker.
No comments:
Post a Comment