So today I want to show you the cookies I'm making (as I type this post) and share with you my recipe.
So to begin with this recipe came from my "Women's weekly - Decorate cake" book I mentioned a post or two ago, and I've tweaked it a bit to suit my Needs and tastes. Now, I made this cookie recipe once, and I did it exactly as the book said. They were fine, but they rose a bit to much and were a little plain for me, so this time I tweaked it and added some extra flavouring.
The Cookie Recipe - From the book:
125g Butter (4ounces) - At room temperature
2 Eggs - At room Temperature
1 Teaspoon of Vanilla Extract
150g Caster Sugar (2/3cup superfine)
200g (1 1/3 cup) Self Raising flour
150g Plain (all purpose) Flour
* Place your butter, vanilla and sugar in a bowl, and mix with an electric mixer on low speed until just combined.
*Add room temp eggs, one at a time, and mix on low speed until only just combined.
*Transfer mix into a large bowl and sift in flours in two batches, until it forms a soft dough. Knead dough on a floured surface until smooth and just barely tacky then cover with cling film and refrigerate for at least half an hour
*Preheat oven to 180*c /375*f, and lightly grease oven trays and cover with baking paper.
*cut cooled dough in half and roll out to about 5mm thick (1/4 inch) and cut shapes, placing on lined baking trays. Bake for about 10 minutes (watch your oven as your shapes may cook faster or slower) until just starting to colour, then place on a baking tray to cool completely.
Now. I made a few changes to this, but it was to suit my oven, my climate, and my taste. I added the extra 1/3 cup (that was supposed to be self raising flour) in as plain flour to help reduce spreading of the cookie, and I also added a bit of orange extract to add a little extra flavour - you could use just about any flavouring, but I kept the vanilla also, just cut back a bit. I left my dough in the fridge overnight to rest and the other thing I did was after I cut the shapes, I put them on a lined tray, put another layer of baking paper, more cut outs, and a piece on top, then popped them into the freezer for an hour. this also helps to reduce spreading, and put them straight into the oven, frozen.
So, To illustrate: This is the dough straight from the fridge:

Unwrap the dough, and cut it in half:


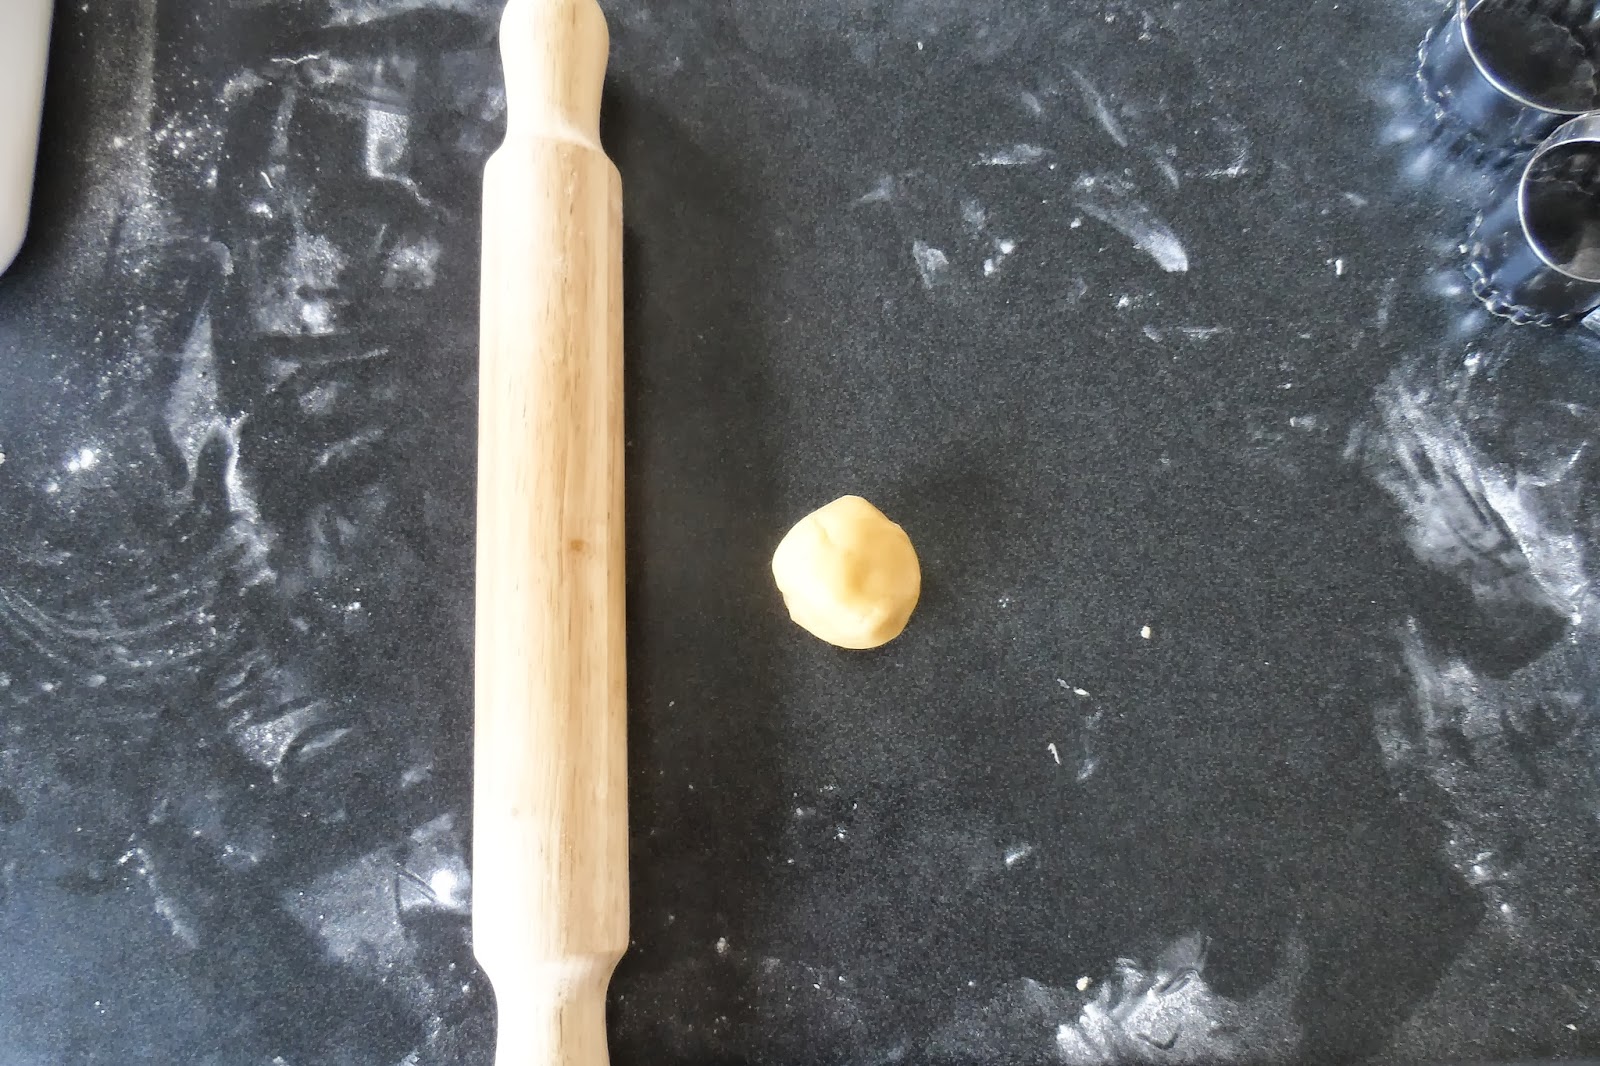
Get some Flour and your Rolling pin ready:

Lightly flour the surface, and begin to roll out your dough (be gentle as it is still quite cold, it can crumble apart. If this happens, knead until just together so as not to make it too warm, and begin rolling again)

When rolled out, it should look like this:

Cut out your shapes: Use any you like, I chose my fluted rounds:

knead a little to recombine your off cuts then re-roll:


Now, add the off cuts to the un-rolled half. if you keep re rolling your dough, your cookies will be quite tough, and the dough gets too warm. by adding your rolled dough to your un-rolled dough you have less wastage. Start process again! (I just want to point out the colour difference)

This is how much I wasted, less than a golf ball sized piece.
These are my half of my cutouts before going into the freezer.

And these are the cutters I used.

Ive chosen these shapes as I'm planning to use these for an upcoming baby shower for a friend, and will be decorating them in a "Baby Boy" theme. Photos of that to come!
This is the finished product:


And This is what you get when you ask your Fiance to take some photo's of the cookies while you keep typing:

Thats all from me today, tomorrow will be Icing the cookies!
Thanks for Reading, I hope this helps!
Any questions on the recipe or anything in today's post just pop a comment in below.
See you tomorrow!
The Beginner Baker :)
No comments:
Post a Comment