Sunday, 3 November 2013

Cake! Jim Beam Ice Bucket Cake -

Hey everyone!

Today I want to share the cake I was making last week, you know, the one that had me rambling on about ganache for what seemed like forever?

Anyway, This cake was a lightly carved super moist chocolate cake with a dark chocolate semi-sweetened ganache, Covered in fondant which was hand painted in silver lustre dust, with home made rock candy ice cubes, an edible image logo and a few drinkable cans for good measure.

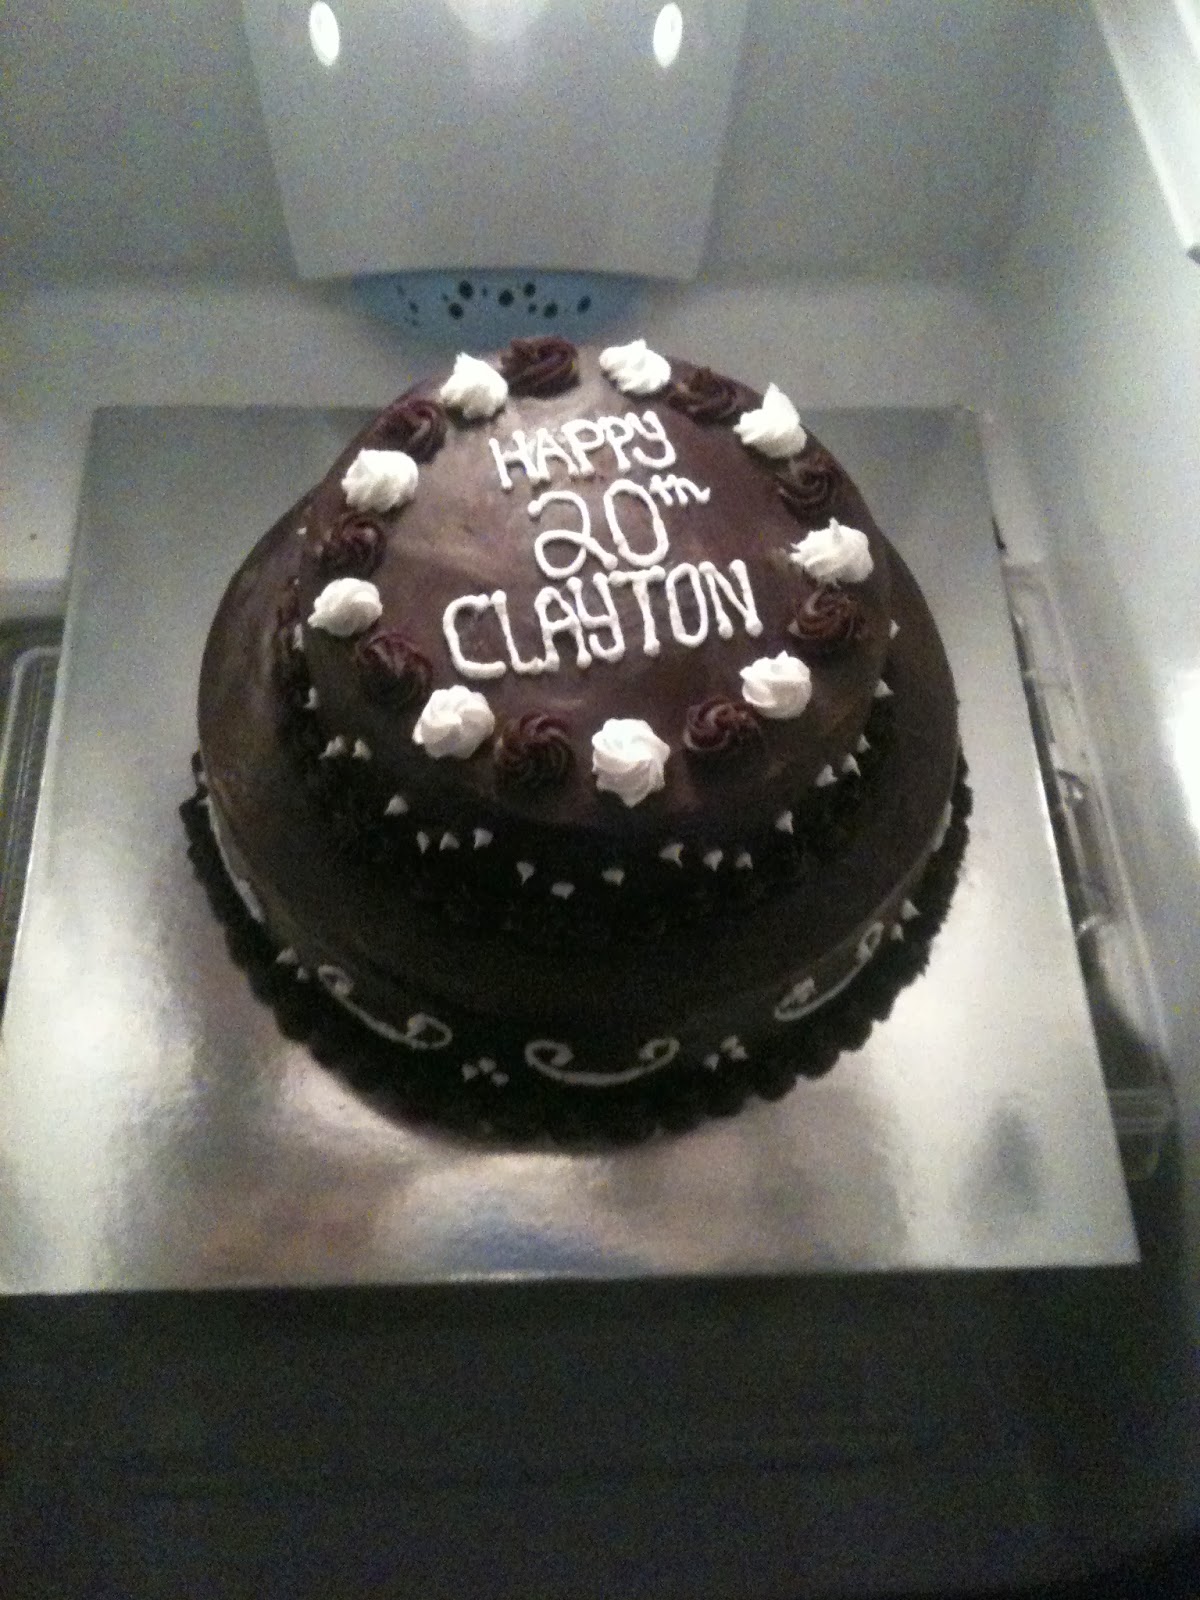
Here is the finished product:

Now, I wanted to share this cake with you because for me, there were so many firsts in this cake! I had never carved a cake, Never made rock candy, never used an edible image, never used anything like cans in a cake before, never used lustre dust so, this was a biiiiig undertaking for me!

So. I did my best to remember to take photos along the way, and this is my step by step.

Obviously first step was to bake the cakes. The receiver of the cake said that his favourite cake was a Woolworth's chocolate mud cake. (for my American readers, this is a store bought cake that is a super rich, dark, almost black chocolate cake) So obviously the cake had to be chocolate. I then went with the dark chocolate ganache to contrast the sweetness of the cake, but added a few extra ingredients (see my last post for details) to match the flavours. 

I used a 7" and an 8" cake tin, and baked one cake in the 7" and two in the 8" Then split them into two layers each (With my nifty new cake splitter! How did I ever do this without one! Will list details at the end of the post) then filled with ganache. 


Always put a little smear of ganache onto the board before putting down your first layer, it just helps the cake anchor to the board so it wont move around while you work. I used an offset spatula to apply the ganache, and I also have the cake sitting on an old lazy-susan with a silicone mat on top just to stop the board from moving. Having the cake itself turn has a huge advantage to keeping your layers even and level, and only a thin layer of ganache was added to each layer as it had quite a few layers.

Next came the Carving:
 Using a serrated knife I trimmed the edges off the outside to make it a smooth tapered shape.

after this was done and I was happy with the shape, I added a thin layer of ganache over the entire cake, then popped it into the fridge to set up. after about half an hour, I took it back out and used a cookie cutter slightly bigger than the size of the can and angled it on top of the cake to cut out where I wanted the cans to be placed, then cut out the cake necessary. I then ganached that area and put it back into the fridge for an hour to firm up completely.

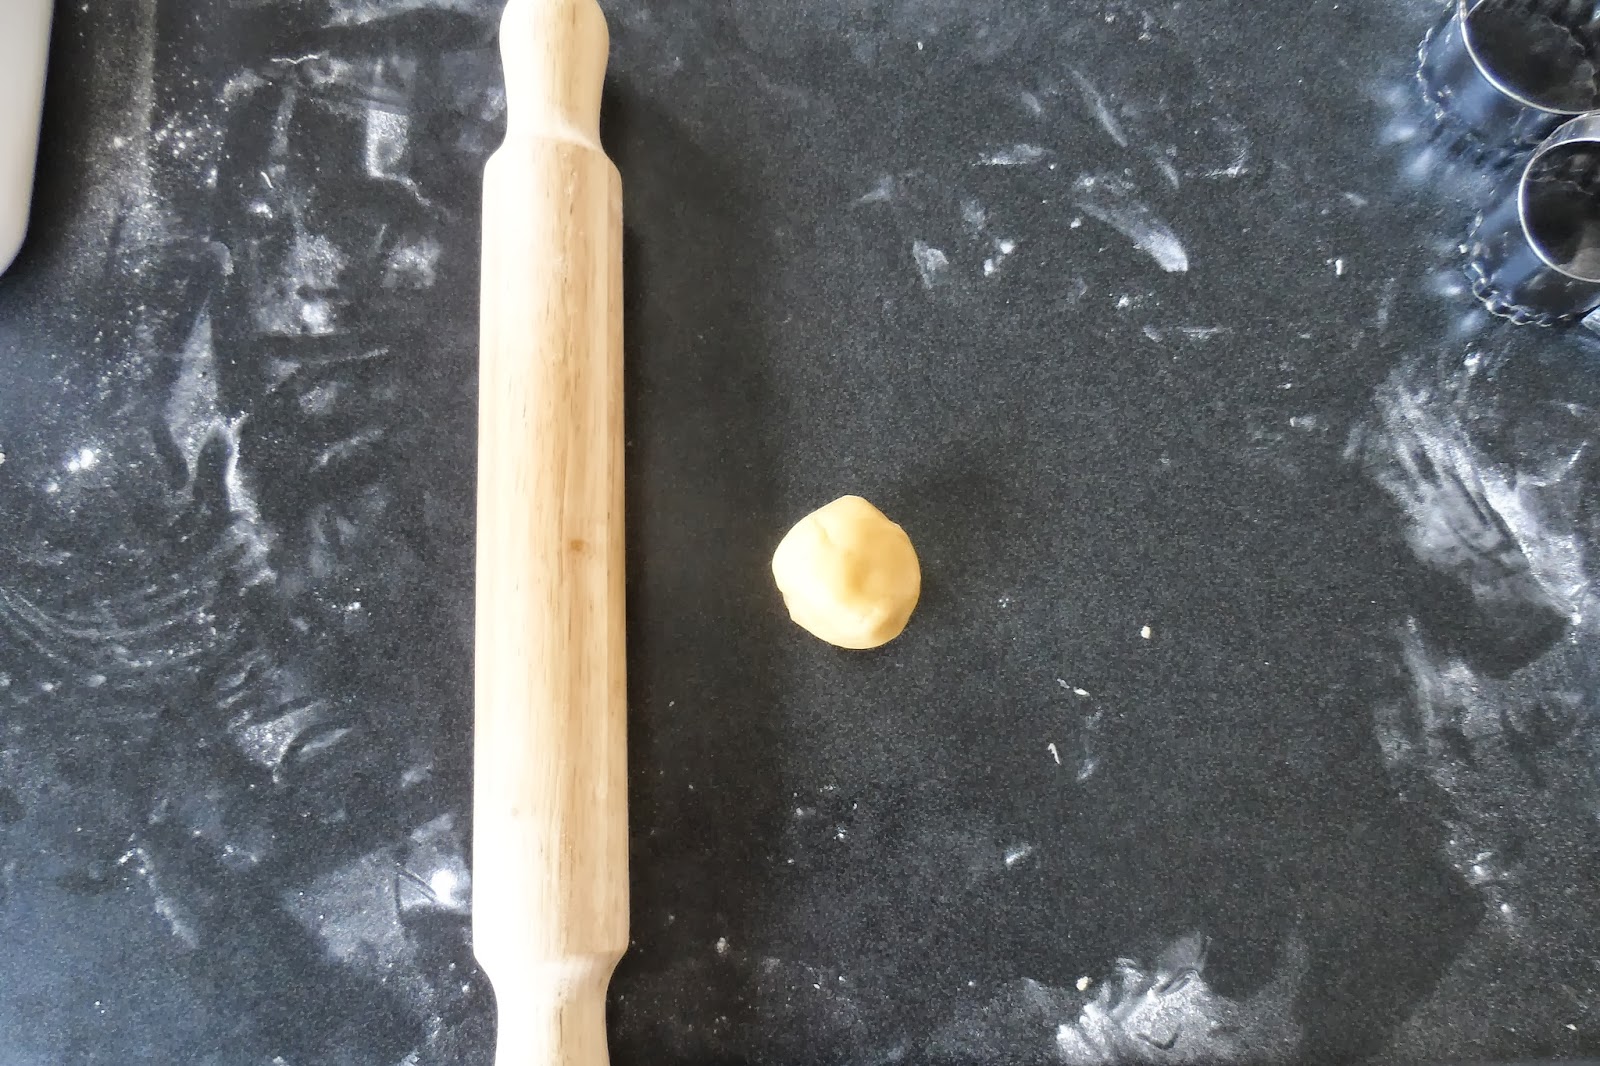
Next came the fondant. This was super tricky. Because the cake tapers in at the bottom instead of the top, getting it to cover without it stretching/ Ripping or wrinkling was extremely difficult. Because I was frantic, I didn't get any photos of that. I had a lot of wrinkles in the bottom of the cake, so I measured the circumference of the top and the bottom and rolled a second piece of fondant cut to the height of the side and a few inches bigger than my measurements and popped it over the top of the first layer, which made it much smoother and easier to manage.

After it had an hour or two to dry out a little, I mixed the silver lustre with some vodka and painted the sides of the cake and added a medium thin rope of fondant and wrapped it around the bottom of the "pail" then a thicker one for the top and painted those as well. I made the top one thicker as it had to hold the "Ice" from falling off the top of the cake, and it also helped to hide the raw edge from the second layer of fondant on the sides.

Where I made the cut outs for the cans on the top of the cake, I added some extra supports:


This just helped shift the pressure from the cake itself, as it was quite thin between the cutout and the outside edge.

Next came the rock candy. This took a bunch of goes, because I didn't have some of the equipment needed. But I managed to make do without a candy thermometer and corn syrup. This is Just sugar and water. My first batch completely Crystallised:


The second batch got a bit amber in the pot so when i added a little blue colour, it went green:
But it was clear!

My third batch (when I was sure I had the hang of it) I poured into an icecube tray. I made those quite a dark blue to combat the green and when they cooled they had a tiny amount of crystallisation which actually added to the effect and made them look just like real coloured ice!

This was the result:

I added the extra can and the candles on arrival to the party, and  as you saw at the top, my finished cake!


Now I mentioned at the top I purchased a cake splitter. Best. Thing. Ever! perfectly level cakes, every time! I purchased mine from Ebay and its a simple wire cutter. See mine Here.

I also bought this little set :Decorating set and it had everything I needed. Great tools and good quality.  Many fun cakes to come!!

Thats all from me today!

Next im going to talk cupcakes and cake pops!

Thanks for reading as always :)

The Beginner Baker.

Wednesday, 30 October 2013

Ganache! Recipe and How To -

Hello again everyone,

Today I want to talk to you all about Ganache. And Chocolate.

**In my best Homer Simpson voice - Mmmm Chocolate* *drools*

Ganache Is a mixture of Chocolate and Cream. Its Extremely simple to make, and is Delicious!

In Australia we use ganache more than say, a buttercream, for filling/ covering cakes. This is mainly because it is quite warm here, and buttercream can be a little unstable in warmer climates. Plus, if you are covering a cake in Fondant, it cannot be refrigerated, so ganache is really the only choice in my book.

My reason for wanting today's post to be about ganache is that last night I had to make some, and while I was stirring the bowl waiting for it to combine, it got me thinking about the different recipe's I've used in the past. Every different cake book I own has a starkly differing opinion on what a great ganache is. Some say you can only make great ganache in huge quantities, and justify it by saying "what you don't use, you can freeze". Sure, that's fine if you want to buy large amounts of chocolate (which depending on your quality, can become quite an expensive endeavour) or perhaps you have a few cakes/ Cupcake orders for the one weekend, but for most singular orders, its just too much, and I also find that if I freeze it, the chocolate can become a little grainy from the water content in the cream. However - That's just me.

The Recipe I'm referring too is that of the Talented people over at Planet Cake, and Their Ganache recipe is as follows:

White Chocolate Ganache -
1.3Kg of white Chocolate (Finely Chopped)
450Mls of pure cream (Pouring cream/Non thickened cream)

Dark Chocolate Ganache -
1.2Kg Dark Chocolate (Finely Chopped)
450Mls of Pure Cream (Pouring cream/Non thickened cream)

Now, The dark chocolate ganache is Delicious. Don't get me wrong. But, its quite thick and can be a little hard to work with if you don't have the propper tools. To use it I had to microwave it (Which it actually says to do in the book) But I found that when I did that, as it was in such a large quantity that only the center softened, and even then, it was still quite thick.
You may remember the cake in one of my first few posts - The one where I unintentionally almost gave my cousin and his friends and family diabetes?


That was using this recipe. The Good thing about this recipe is because its thick, its great for piping. It holds its shape really well for decorative borders and rosettes etc.

The other more common recipe is that of equal quantities.

This Recipe is from "The Essential Guide To Cake Decorating" and I believe it is only enough to cover a cake and not fill it - but any quantities could do. This is a more runny ganache and would be great for dipping cupcakes into, or using more like a glaze over a cake

155g (5oz) of Dark Chocolate
155Mls (5 Fluid oz) of cream

Again, I'm sure its delicious (I haven't actually tried this method yet, but will be sure to share the results with you as soon as I do) But if any of you guys have, I would love to see the results!

Now. My Recipe.
This is a recipe I can not flaw. Ive used it for all my recent cakes, without a problem. (Apart from turning my back on the cream right when it decides to boil out of control over the rim of the pot and all over my stove. You would think I would learn? Nope, did it again just last night. Haha) But that's a me problem, not a recipe problem. :). Now Ive mentioned (and linked) this book before, and really, I can not recommend it enough! "The Women's Weekly - Decorating Cakes" If you do not yet own this, please at least take a peek next time you are in a book store, or major retailer (Kmart, Big W, Target Etc) and you will fall in love, I Promise!

Ok. So. Recipe is as follows -

White Chocolate Ganache -
360g (11 1/2 Ounces) of White *Eating* Chocolate. I use Cadbury - Dream In Aus.
125ml (1/2 Cup) of pouring cream

Dark Chocolate Ganache -
200g (6 1/2 Ounces) of dark chocolate
125 Ml (1/2 Cup) of pouring cream.

The Above dark chocolate recipe can also be made in milk chocolate. And, It. Is. Delicious. It also doubles (triples, quadruples etc) extremely well.

The method to this is so simple (And applies to all the above recipes also) that as long as you watch your cream, (and seriously, I cant stress that enough! Gets me every time!) It only takes about 5 minutes to prepare. I always make it the night before I want to use it, and let it set in the fridge over night.

Put your chocolate into a heat proof bowl and set near the stove. (If you are making white chocolate ganache, I also put a pot of water on to boil to use as a double boiler as the white chocolate has a higher melting point and the cream needs to be kept warm to combine)
Pour your cream into a pot on the stove, and heat until just starting to boil, then immediately pour over your waiting chocolate. Stir through until all the chocolate has melted, and it is completely combined with your cream. It should be smooth and a solid colour. cover in cling film, (I like to do two layers - one directly onto the chocolate mix itself, and another sealing the top of the bowl.) Then Pop it into the fridge, And done!

Now, Last night while I was mixing up my dark chocolate ganache, I tasted the Chocolate (As you do, of coarse) and found it to be a teeny tiny bit bitter. To counter that, I put a bout half a teaspoon of caster sugar into the hot cream, and I also added about half a teaspoon of pure vanilla extract (Can be found at your local supermarket, Its the darker syrup-like one) and mixed it in with the already combined mix. (It was so good!)

To use this mix, you can leave it out until it gets to room temperature, or (Because I'm impatient) I pop it into the microwave for 10 seconds on 50% power, Feel the center, if its still firm, repeat. Be sure to watch closely as you still want it to be a bit firm, but not cold. Then, I put my hand held beater in - starting on low speed, I start to whip it. Starting in the center, gradually bringing the edges of the mix in until the whole mix has been encorparated then up the speed for a minute or two, and when it is a little lighter in colour, and resembles a chocolate mouse almost (very light and airy, not dense) its done!

Now. I have two tips about this.
1. If you choose the microwave method, make sure that you don't over do it, or it wont whip up.
2. When you have whipped it all up and have filled and covered your cake, you might have some little bumps or edges. I like to keep a very small amount (think 2 tbs max of the whipped) aside, and i put that in the microwave for 5 seconds. I use an offset spatula to use the warmer runnier ganache over the bumpy spots to flatten them out and smooth the edges. Then put I put the cake into the fridge for about 15 mins to let it set up, then go back over the whole cake with a spatula that's been dipped in hot water - not dried completely but not dripping - and run it over any of the remaining little bumps. Result? Smooth (and tacky) surface for your fondant to stick to!


Now, as my Fiance has just informed me I've written an essay, I'll leave it there and get to baking my cakes.

As always, Thank you for reading!
The Beginner Baker.

Monday, 28 October 2013

Cookies and Colours -

Hello Again!

I know its been almost a week since my last post, but having a 28 year old man in the house for a long weekend (4 whole days) Is much the same as having an 8 year old boy in the house. Hard to keep occupied. Took a day yesterday to recover.

Now, Back to it!

So I Iced my cookies And I'm not entirely pleased with them. They are ok for my second go ever, but I still know I can do better. So I'm thinking I might have another go at these before the date if I have time, and swap out some of the ones I'm not so pleased with.

Here are a few:


My Biggest problem with sugar cookies is that I'm impatient. I don't like waiting a day for the first part to dry to add more then wait for that, etc etc. So all of my cookies are wet on wet, and then left to dry overnight. even then, its a very time consuming process, that if you don't have the time to sit down and do it, they wont work. I had the time, (that time was 11pm at night, but I found time. That's all that matters, right?) So I set myself up at the dining table and got to work. Now, I still don't have the consistencies quite right, but alot closer than last time I think, and I have every intention of purchasing some Americolor gel colours, but at the moment I use Queen Colour and flavours. (I actually have a ridiculous amount of their products. :p)

I do enjoy using them for cupcakes and rainbow cakes, they seem to work pretty well, with a good saturation of colour - Although I do wish they had a purple, and I didn't have to try and mix it myself. (that always ends badly) :


But Any way, Getting back to the cookies.

Getting royal icing to be the right thickness, and colour can be a little challenging if you don't have the right products, and having liquid colour/ water based colour can be a problem, as it messes with your consistencies. The last thing you want is your icing falling off your cookie just so you can have the colour depth that you want. so next time I hope to do cookies with gel colour. but for this one I found that as long as you expect your icing to be a little runnier in the final coloured product you should be fine.

I also made my Royal icing a lemon flavoured icing by adding lemon juice (the bottled variety as its lump and pulp free) to go with the orange flavours I added to the cookies. The taste is a summery light citrus flavour, and I was quite happy with the textures of the cookies when finished.

Tomorrow I start my next cake order, and I cant wait to show you all the finished product. I hope to remember to take photos along the way to share with you next week, the process of a lightly sculpted cake. :)

Thanks for reading as always :)

The Beginner Baker.


Monday, 21 October 2013

Cookies! Recipe and baking process -

Hello again!

So today I want to show you the cookies I'm making (as I type this post) and share with you my recipe.

So to begin with this recipe came from my "Women's weekly - Decorate cake" book I mentioned a post or two ago, and I've tweaked it a bit to suit my Needs and tastes. Now, I made this cookie recipe once, and I did it exactly as the book said. They were fine, but they rose a bit to much and were a little plain for me, so this time I tweaked it and added some extra flavouring.

The Cookie Recipe - From the book:

125g Butter (4ounces) - At room temperature
2 Eggs - At room Temperature
1 Teaspoon of Vanilla Extract
150g Caster Sugar (2/3cup superfine)
200g (1 1/3 cup) Self Raising flour
150g Plain (all purpose) Flour

* Place your butter, vanilla and sugar in a bowl, and mix with an electric mixer on low speed until just combined.
*Add room temp eggs, one at a time, and mix on low speed until only just combined.
*Transfer mix into a large bowl and sift in flours in two batches, until it forms a soft dough. Knead dough on a floured surface until smooth and just barely tacky then cover with cling film and refrigerate for at least half an hour
*Preheat oven to 180*c /375*f, and lightly grease oven trays and cover with baking paper.
*cut cooled dough in half and roll out to about 5mm thick (1/4 inch) and cut shapes, placing on lined baking trays. Bake for about 10 minutes (watch your oven as your shapes may cook faster or slower) until just starting to colour, then place on a baking tray to cool completely.

Now. I made a few changes to this, but it was to suit my oven, my climate, and my taste. I added the extra 1/3 cup (that was supposed to be self raising flour) in as plain flour to help reduce spreading of the cookie, and I also added a bit of orange extract to add a little extra flavour - you could use just about any flavouring, but I kept the vanilla also, just cut back a bit. I left my dough in the fridge overnight to rest and the other thing I did was after I cut the shapes, I put them on a lined tray, put another layer of baking paper, more cut outs, and a piece on top, then popped them into the freezer for an hour. this also helps to reduce spreading, and put them straight into the oven, frozen.

So, To illustrate: This is the dough straight from the fridge:


Unwrap the dough, and cut it in half:

Get some Flour and your Rolling pin ready:

Lightly flour the surface, and begin to roll out your dough (be gentle as it is still quite cold, it can crumble apart. If this happens, knead until just together so as not to make it too warm, and begin rolling again)

 When rolled out, it should look like this:

 Cut out your shapes: Use any you like, I chose my fluted rounds:

knead a little to recombine your off cuts then re-roll:

You may be wondering why the cutters have overlapped, and that is because I'm making them into little bibs! I'm also hoping to have a go at some owl cookies :)

Now, add the off cuts to the un-rolled half. if you keep re rolling your dough, your cookies will be quite tough, and the dough gets too warm. by adding your rolled dough to your un-rolled dough you have less wastage. Start process again! (I just want to point out the colour difference)

This is how much I wasted, less than a golf ball sized piece.

 These are my half of my cutouts before going into the freezer.

And these are the cutters I used.


 Ive chosen these shapes as I'm planning to use these for an upcoming baby shower for a friend, and will be decorating them in a "Baby Boy" theme. Photos of that to come!


This is the finished product:


And This is what you get when you ask your Fiance to take some photo's of the cookies while you keep typing:


Thats all from me today, tomorrow will be Icing the cookies!

Thanks for Reading, I hope this helps!
Any questions on the recipe or anything in today's post just pop a comment in below.

See you tomorrow!
The Beginner Baker :)


Sunday, 20 October 2013

Simple shapes - The Possibilities! -

Hello again everyone,

I must apologise. I know I said on Friday I would be back "tomorrow" (Being Saturday) and today is now Monday, but if you lived in Tasmania (I think a lot of you may do) then you know why I wasn't sitting at my computer completely lost in YouTube Videos and 30 Blogs Deep on Saturday morning - It was Hot! For those of you who are in The US or anywhere outside of Australia, for that matter, Tasmania doesn't get hot.. Often. So when it does, thousands of lily-white arms and legs appear to soak up some much awaited (and very necessary) Vitamin D. It was in fact, still warm (ish) on Sunday morning, so I even got some gardening done (and by gardening I mean whipper-snipping my shin-high lawn so I could then run over it with a lawn mower without ripping it from the ground) before the rain came and ruined our fun, and instead spending my night last night lost in Youtube videos and 30 blogs deep to bring you today's post. Can you forgive me? Jolly Good. :)

So. After pouring through all kinds of blogs,sites and youtubers, I think I have found the most informative few to show you the versatility of a shape. Some ideas you may have thought of, others, you (like me) will think "Duh! Why didn't i think of that!!"

While trawling through blogs a while back, I came across an incredibly talented lady by the name of Callye Alvarado, the wonderful creator of all things delicious from The sweet adventures of sugarbelle. She had a post recently that follows on this theme - Why buy thousands of cutters if you don't have too? (Now I feel I should point out, she does in fact own hundreds if not thousands of cutters, but when you make as many cookies as she does, you can understand why. For you and I, its just not necessary to own that many cutters. As much as I wish I did. :p) This is the link - Twenty cutters every cookie decorator should own and it is well worth a look, (As is the rest of her blog. If you haven't caught the cookie bug, you soon will!) She uses some seriously basic cutters to create amazing designs, and can inspire anyone of any skill level to have a go and be proud of what you created.

I also cant recommend Apps like Instagram, and Twitter enough. Choosing people to follow is easy and you can come out with free online lessons, links to tutorials and a never ending source of inspiration, that is on trend and up to date!
Another great source of inspiration is Pintrest. If you aren't already a member, become one! Its great because you can save everything that catches your eye (saves searching for it three months down the track when you want to use it!) to a personalised list, you can share it with friends, and it is so simple to use!
And Lastly, YouTube! If you aren't sure where to start with regards to searching, You can look me up (My username is Element80) and check out who I'm subscribed too. Montreal Confections and SweetAmbs are great places to start for cookies - Craftsy and Global Sugar Art are great for cakes and fondant techniques.

Now I have to admit, I'm a firm believer in the "I can do that!" mentality. I see pictures and think "Gee, That would make an amazing cookie" or "That would look great on a wedding cake" obviously, I'm a beginner, and sometimes I bite off more than I can chew, but I am also a firm believer in "Giving enough rope to hang yourself" . It means that you can take on a big project, let it swamp you and give up, or take it on, keep trying until you get what you are after. Admittedly, sometimes a job is just too big. Don't give up! Sometimes it can be a design that is just to complex for your skill level. Don't scrap the idea altogether, but try to simplify things to suit you! Practise is key (and to any family members who may be reading this - Expect cookies for every event you have from now on. :)) Use any excuse to practise, Christmas is coming? Gingerbread men! Your sisters birthday? Make her a cake! Stuck for a gift idea for a friend's sons birthday? Why not whip up some cupcakes with cut out fondant toppers to match the theme? Oh you heard that your cousins nephews uncles mothers cat is having kittens? Better make some ball of wool cookies to celebrate :) Find recipe's that work for you in your climate, experiment with colours and have fun! you are only ever as limited as your imagination and determination lets you be.

You can also follow me on Twitter - Always_Cakes,
Or on Instagram - always_cakes, And let me know you came from my Blog!

Thats all from me today - I'm off to do some baking myself! :)
As always, thanks for reading!
The Beginner Baker.


Thursday, 17 October 2013

Equipment (or lack there of) -

Good Morning/Afternoon/Evening :)

Today I would like to talk about equipment. Tools, brands and substitutes.

I have very little equipment. The things I do have, have been purchased on minimal funds out of absolute necessity, or have been given to me in the form of gifts.

Some of the most used items I have are cutters. Numbers, Letters and a few basic shapes. When (up until very recently) I could not pipe to save myself, Writing messages on cakes was not a pretty site. So one of the first things I bought were the cutters.Unfortunately, they were the number cutters. I had to go on sharing my terrible piping skills with the world for a while longer as the letter cutters were rather difficult to source locally (aside from buying them from Ebay and having to wait, or places like Habitat and Spotlight who I find tend to overcharge, although in the end I didn't have much choice, bit the bullet and bought in spotlight.)

I wanted to share pictures of these items as these were quite cheap, and purchased from a small cake decorating supply shop in Hobart (That I actually LOVE visiting and recommend to anyone who'll listen)

These are the Numbers:


They are just your basic, Run of the mill Numbers. Perfect for a beginner. They will make great Fondant/ Gum paste decorations for a cake or cupcake topper, or use them to indent a cookie before baking to outline where you want to pipe later - Perfect for beginner pipers (I often use this technique, It helps make identical cookies everytime)

Next came the letters:
 
Same deal here, basic block letter cutters. Better than messy piping, (you know, because you can, well, Read it.) And for the most part, quite cheap. Biggest problem I have with these? I can never get them to go back in the tub!

I also have a few basic shape cutters:

These are great for fondant/ Gum paste decorations on a cake, or to use as cookie cutters. Having basic shapes is important, as they are common. These cutters are cheap, and without proper care, can get rust marks and bend or warp if you are to rough with them. I've had most of these about 5 years, and all I do is after I use them, I wash with hot soapy water, rinse and dry them with some paper towel, pop them on a tray in the oven on about 120 for a few minutes, until completely dry, then store as usual. I've yet to get a rust mark on them!

I have alot of decorating bits and pieces, things that Ive bought for one off orders, things Ive found in little shops too cheap to resist, but I actually do not yet own some of the most important tools for making cakes. I don't have a fondant smother, or a mini rolling pin, I don't have fondant decorating tools or impression mats, I dont think I own a single Wilton anything, and I definitely do not (YET) own a Beautiful Kitchenaid. This is the thing I'm working towards more than anything. I WILL have a beautiful green apple mixer if its the last thing I do!


On tomorrows blog entry I'm going to show you some designs by other bloggers (Better, and way more talented ones that I,) that show you how to use these basic shape cutters for just about ANY occasion.

Thanks for reading!

The Beginner Baker :)